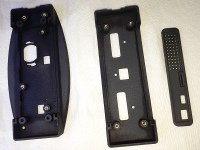
Diy » How to smooth out Shapeways versatile plastic
Versatile plastics from Shapeways is printed using a selective laser sintering (SLS) process. The 3D model is divided into thin slices and a laser draws the slice into a thin layer of nylon powder, once fused, another thin layer is deposited on top and the process continues until the part is complete. Those layers can create visible horizontal lines on the printed object, especially on rounded edges. This is fine for parts that won’t be visible but undesirable for enclosures.
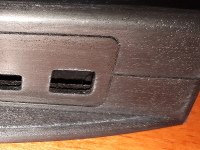
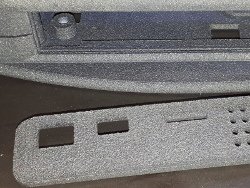
Unpolished raw prints have a porous surface with a matte finish. If you scratch the material, even lightly, it will leave shinny marks all over. This is not as much of an issue with natural (white) but they are quite visible on black dyed prints.
The key to achieving a smooth finish is to fill the gaps between the nylon powder particles with primer. It is a lengthy process, but the results are worthwhile.
The first step before painting is to wash the parts thoroughly with a toothbrush and leave them to dry completely. This is to ensure that you get rid of all loose leftover nylon powder.
You need to keep spraying light coats of primer paint, let it dry and sand between each coat using progressively finer grit sandpaper until the surface is completely smooth. If you spray too much at once, it will clog up the sand paper. I start with 400 grit for the first 3 coats, 1000 for the next ones and finish with 2000 grit sandpaper. It will usually require about 5-6 coats until the little gaps between the nylon particles are completely filled.
I use Rustoleum paint+primer. Look for the one that says “Also bonds to plastics”. It has a dry time of 20 minutes and is specially made to bond with plastic. I also tried Krylon for plastics in the past and it works just as well.
Once you achieve the finish you desire, you must let the part dry for at least one week before proceeding to the next step.
To protect the finish, i seal it by spraying a few coats of clear varnish.


