Another alarm clock project
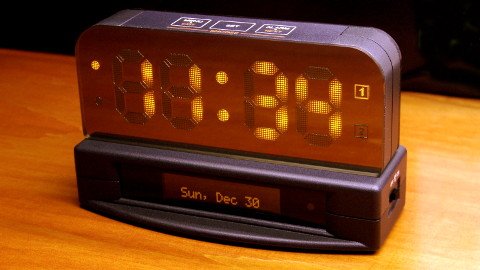
This is my third alarm clock design. It has an RGB 7-segments display made from WS2812 LEDs, a VS1053 chip to playback MP3’s as alarm sound, WiFi connectivity. It is easily programmable as the main board design is based on an Arduino mega. It has an onboard USB->serial adapter and is compatible with the Arduino IDE and all the libraries.
The enclosure parts can be printed with your own 3D printer or by using an online 3D printing services. I included all the necessary STL files on the GitHub repository for this project.
Continue reading...How to smooth out Shapeways versatile plastic
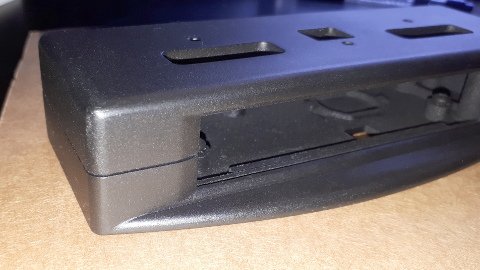
Versatile plastics from Shapeways is printed using a selective laser sintering (SLS) process. The 3D model is divided into thin slices and a laser draws the slice into a thin layer of nylon powder, once fused, another thin layer is deposited on top and the process continues until the part is complete. Those layers can create visible horizontal lines on the printed object, especially on rounded edges. This is fine for parts that won’t be visible but undesirable for enclosures.
Unpolished raw prints have a porous surface with a matte finish. If you scratch the material, even lightly, it will leave shinny marks all over. This is not as much of an issue with natural (white) but they are quite visible on black dyed prints.
The key to achieving a smooth finish is to fill the gaps between the nylon powder particles with primer. It is a lengthy process, but the results are worthwhile.
Continue reading...Call treatment for Asterisk
The thing i like the most about Asterisk is how flexible the dialplan is, and specifically how much creative you can get for dealing with undesired callers.
I use a database to store the call treatment rules and run a lookup query for each incoming call. If a number or caller name matches a rule, it takes the appropriate action for that call.
Continue reading...Linux alarm clock - Display
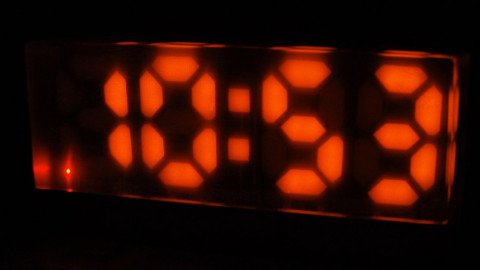
This is the display i made for my alarm clock project. The first version was a 24x7 LED matrix but later changed the design for a four digits seven segment display. I decided to keep the drawings for the LED matrix and named it model A and Model B for the segment display.
The display is encapsulated in clear casting epoxy and is 5 inches wide by 2 1/4 inches high by 1 inch thick.
I was new to silicon molds and casting epoxy, so there was definitely a learning curve. I was unable to avoid the micro bubbles problem entirely. There are a few, but I can live with it, it’s not that bad. The assembly of each digits PCB, making the segments diffuser, gluing them, etc. takes a very long time. I did not want to start all over because of a few bubbles.
Continue reading...Python library for 364X series PSU
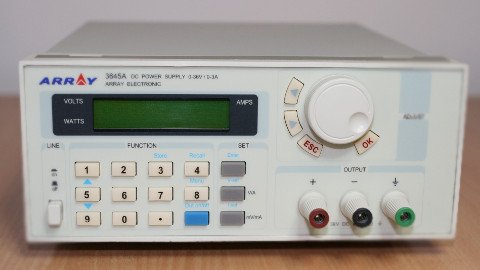
I wrote a python library for remotely controlling an Array 364x series bench power supply. These PSU are re-branded under many names (Circuit specialist, Array, 3Com). It is likely they all have the same firmware, so it should be compatible. I have tested it on my Circuit Specialist 3645A.
Continue reading...DIY electronics workbench
My previous electronics workbench was an old melamine office desk. It was not high enough to work comfortably on PCB assembly. I usually hand-solder small SMT components (0603, TSSOP, etc.) and I always ended up placing my PCBs on top of a box so I could see better what I was doing.
I looked online for a pre-built workbench, but I couldn’t find what I was looking for. Either it was too expensive or I didn’t like the design. I decided to build my own instead.
To be honest, woodworking isn’t one of my strongest skills, but in the end, I was quite satisfied with the results.
Continue reading...


